Custom ISO images are fully supported on Onidel Cloud. It enables you to perform installation from your own installation media which can be handy for Uniform deployments, Encrypted Drive installations or just deploying an OS that is not available from our templates.
Onidel supports Custom ISOs of size up to 10 GB.
Installation from Custom ISO
Upload ISO image
-
First, obtain a direct HTTP or HTTPS link to your ISO image. Our panel does not support uploading ISO images directly from your PC, so you will need to prepare a link to the ISO image you want to use. Please note services like Google Drive or Dropbox usually do not support sharing direct links.
-
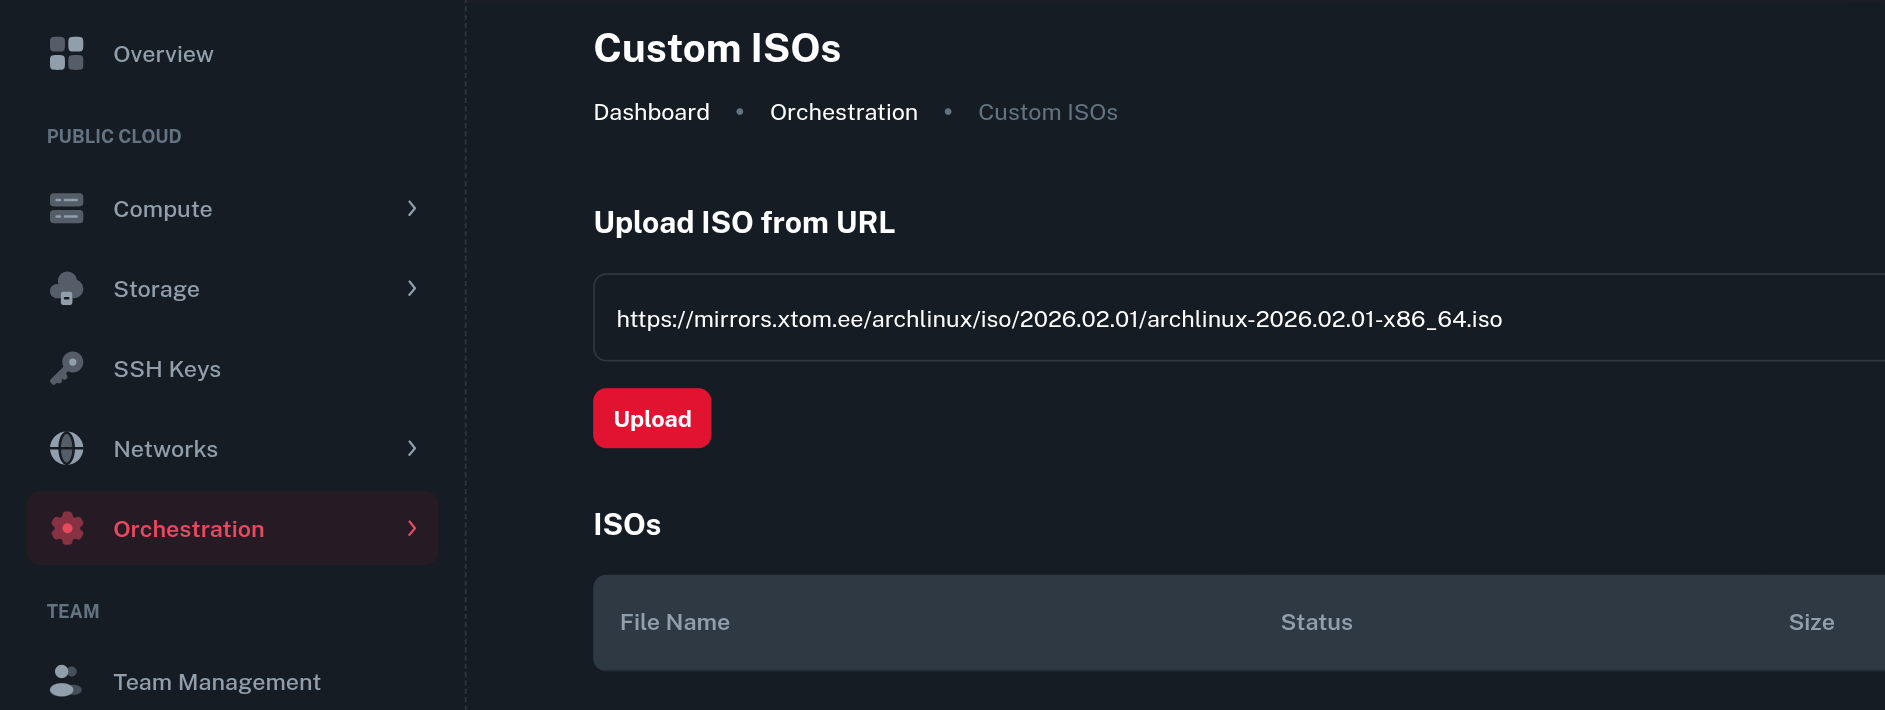
Login into your Onidel Cloud Account, then go to Orchestration > Custom ISOs.
-
Now paste the direct ISO link into the Remote URL field and click the Upload button.
-
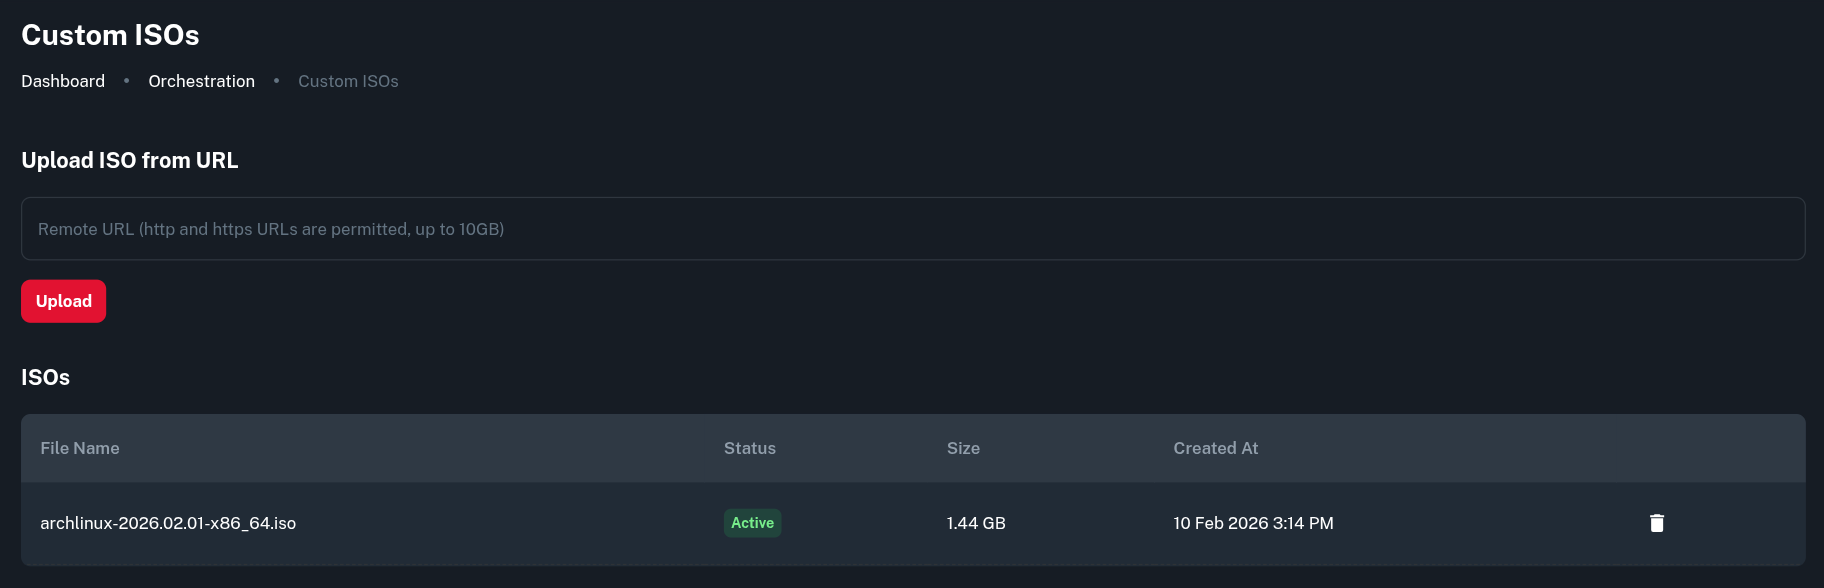
After this, the download of your custom ISO image should start.

-
Once it's finished you will see the custom ISO in the list of available ones below.
Deploying a new VM with your Custom ISO
-
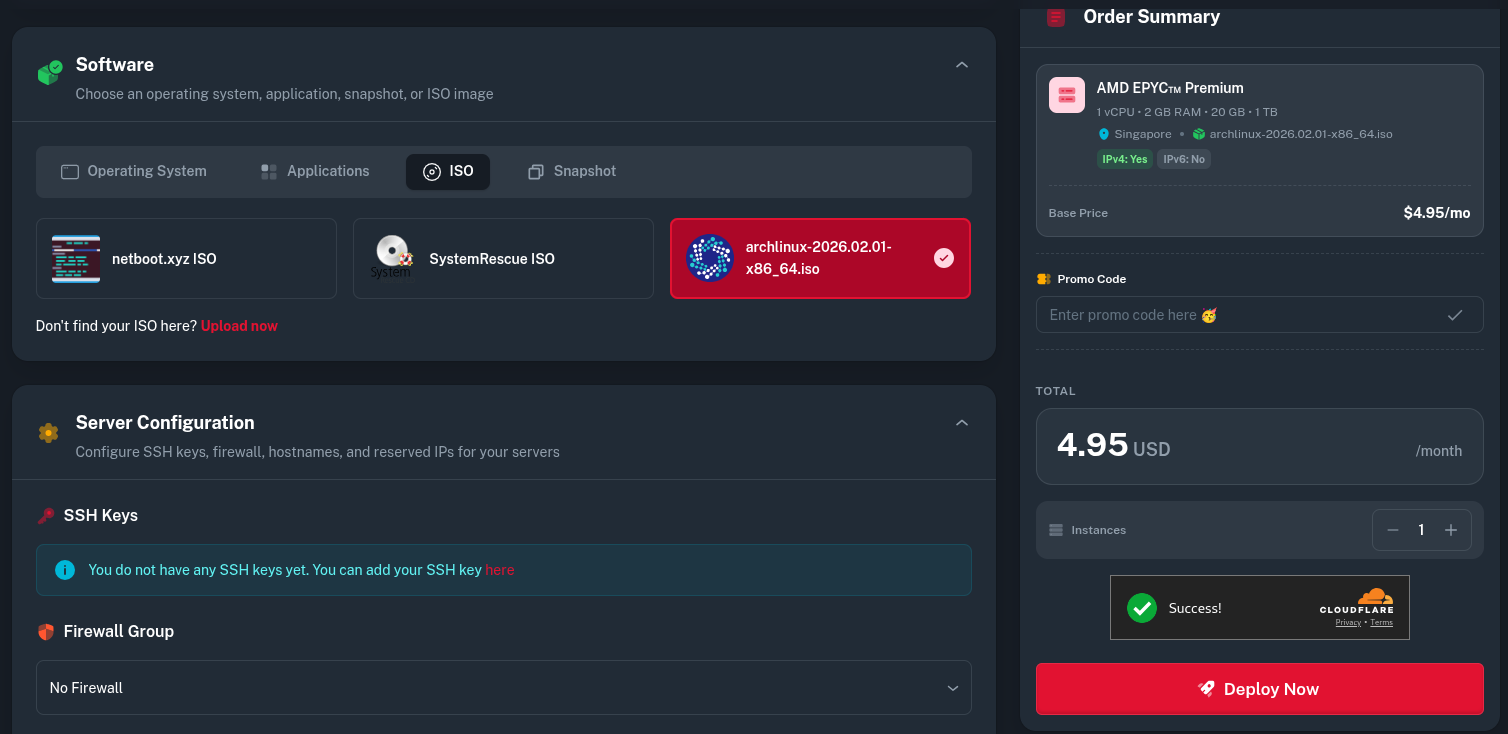
If you want to provision a new Virtual Machine using the image you just uploaded, go to Compute > Virtual Machine > Deploy New Server, then in the Software part, select the image from the ISO tab.
-
Next, select your desired specifications and adjust all necessary deployment settings and create the VM as usual by clicking the Deploy Now button.
-
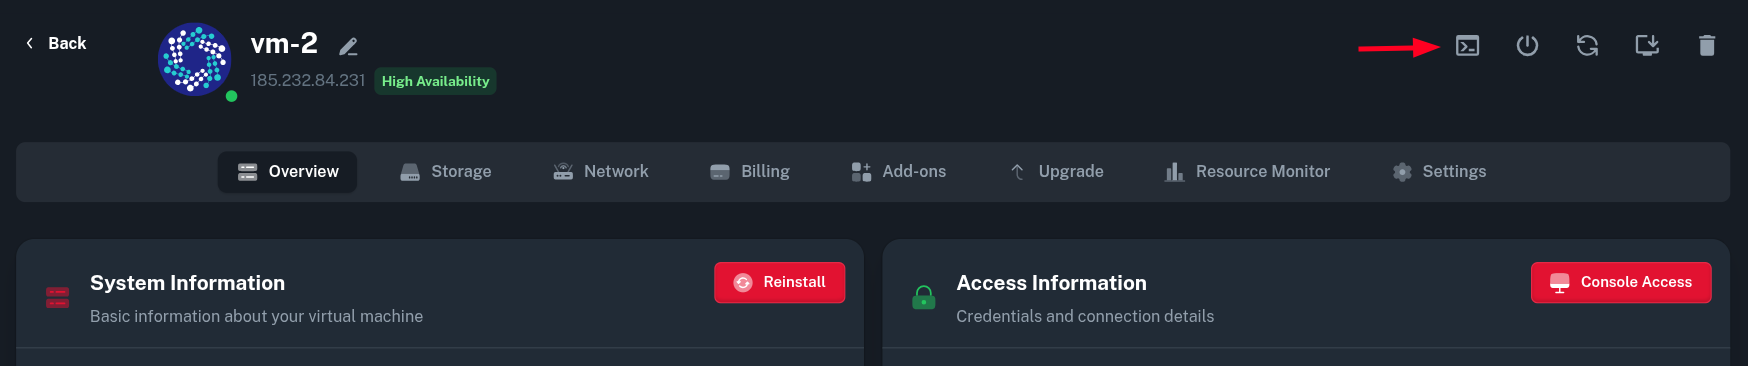
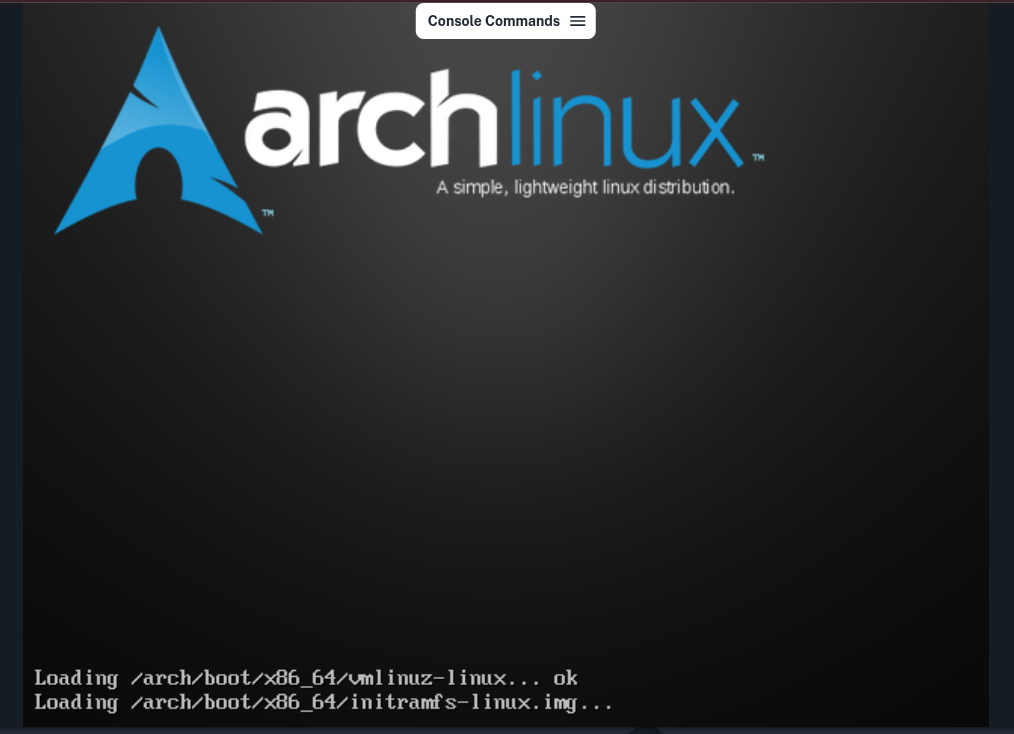
After the VM is created, you can click on the View Console button and install your custom ISO manually.
Reinstalling an existing VM into your Custom ISO
-
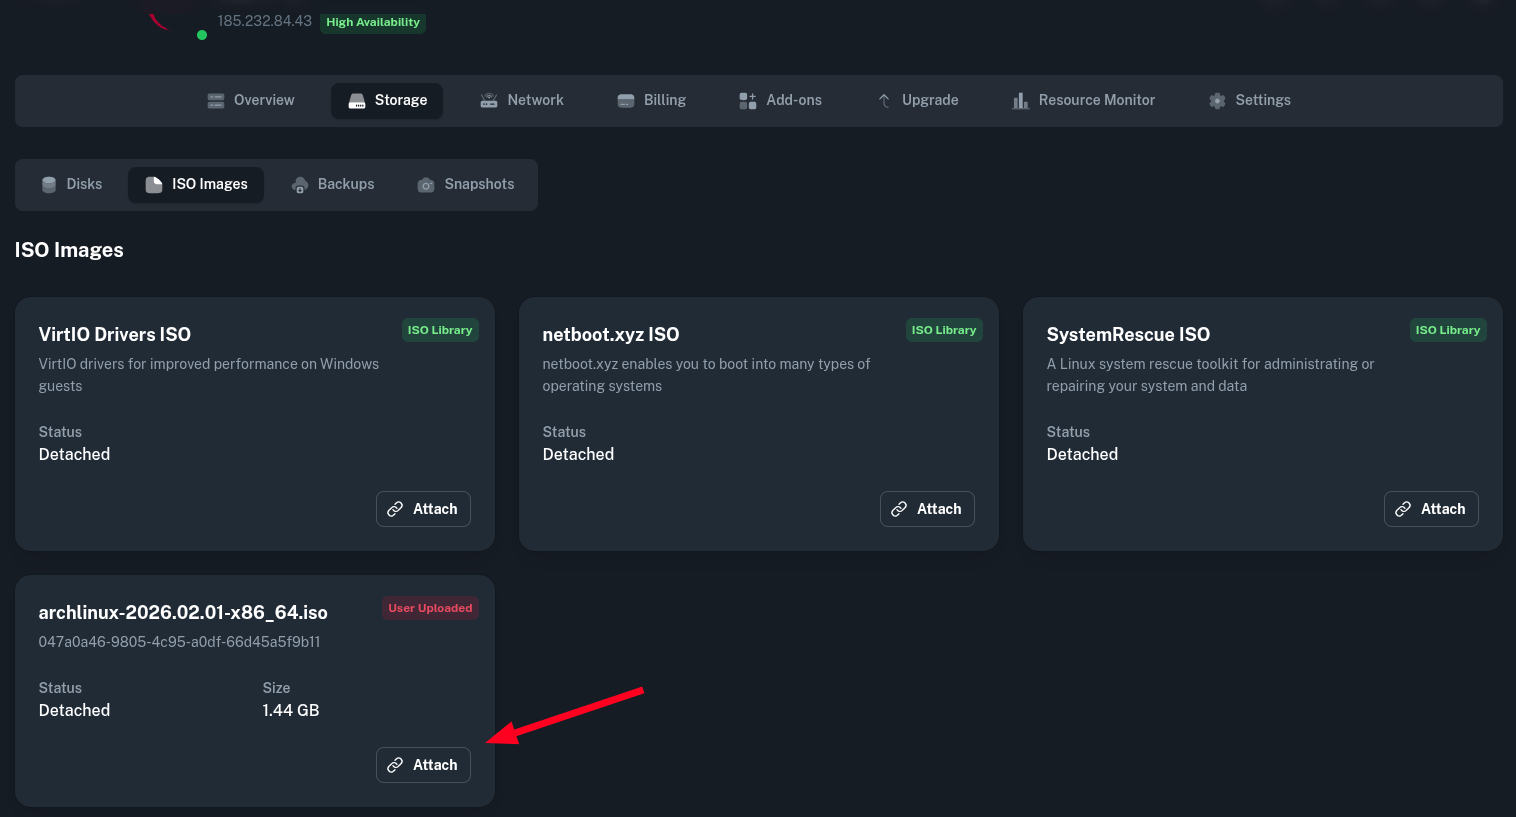
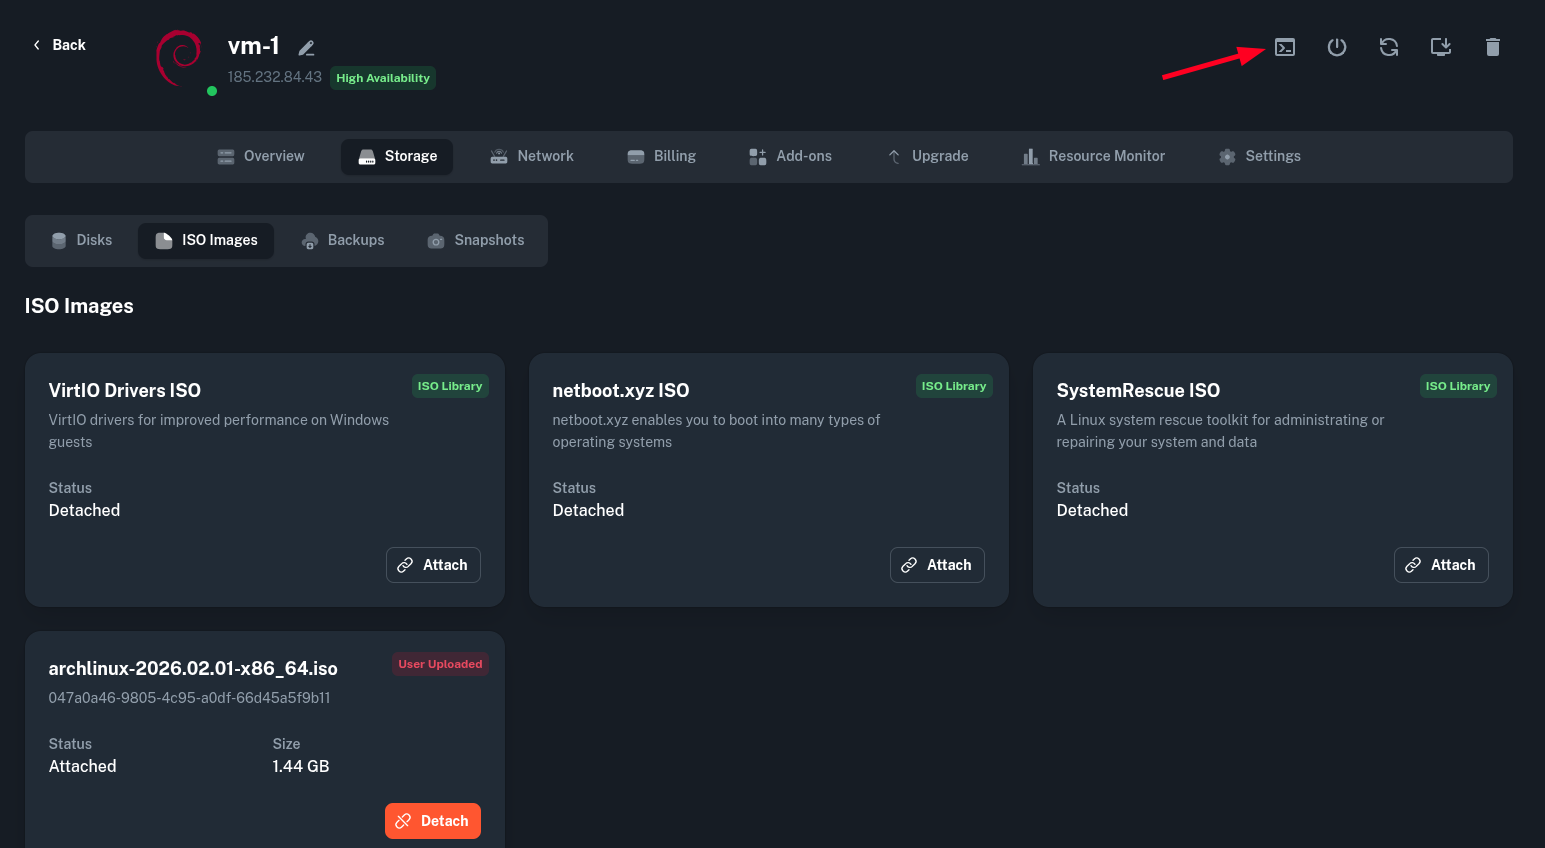
To reinstall an already provisioned Virtual Machine with your Custom image, you need to mount the custom ISO in the Compute > Virtual Machine > (select your VM) > Storage > ISO images.

-
Now, you should see the custom ISO you have uploaded before. Click Attach on the ISO you want to reinstall from.
-
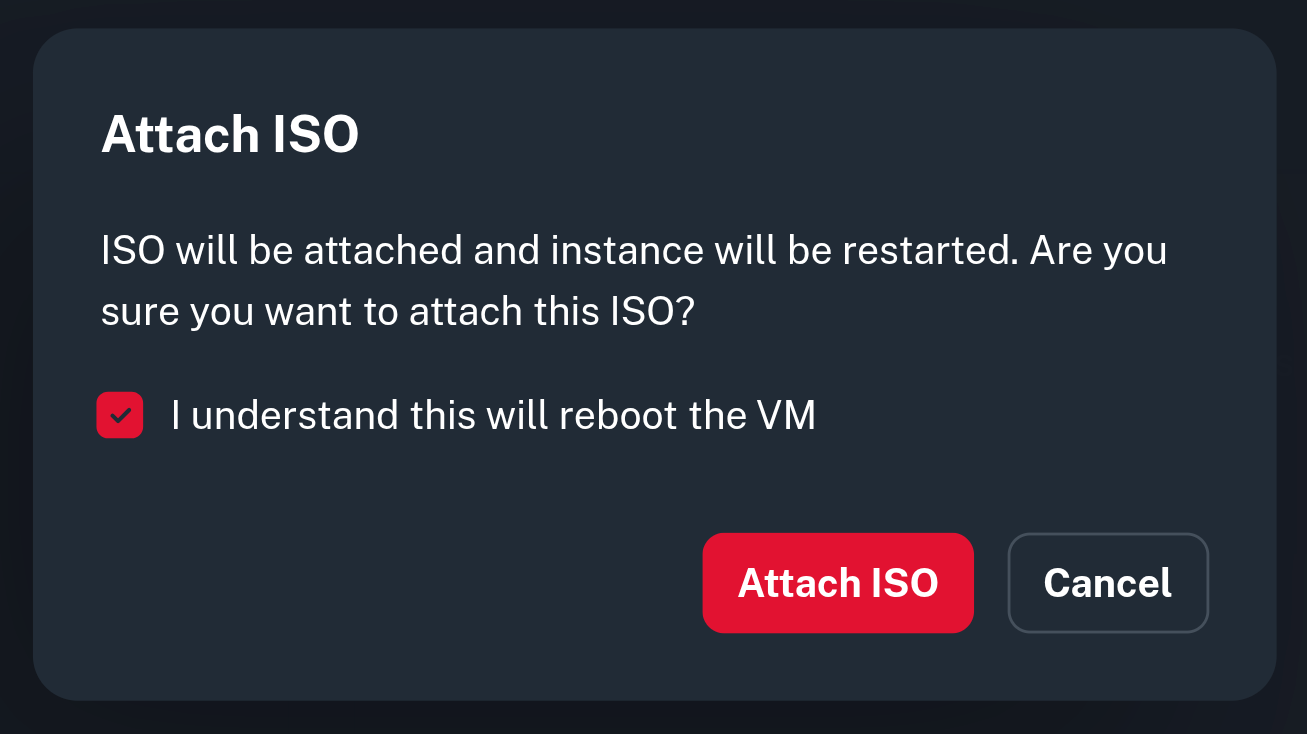
You will now be asked to confirm whether the Virtual Machine can be reboot (to adjust the boot order and make it boot from your ISO automatically). Click check the checkbox and click the Attach ISO button.
-
After this, the VM will reboot into the ISO your just mounted and you can proceed with manual installation using the VM Console.

Troubleshooting
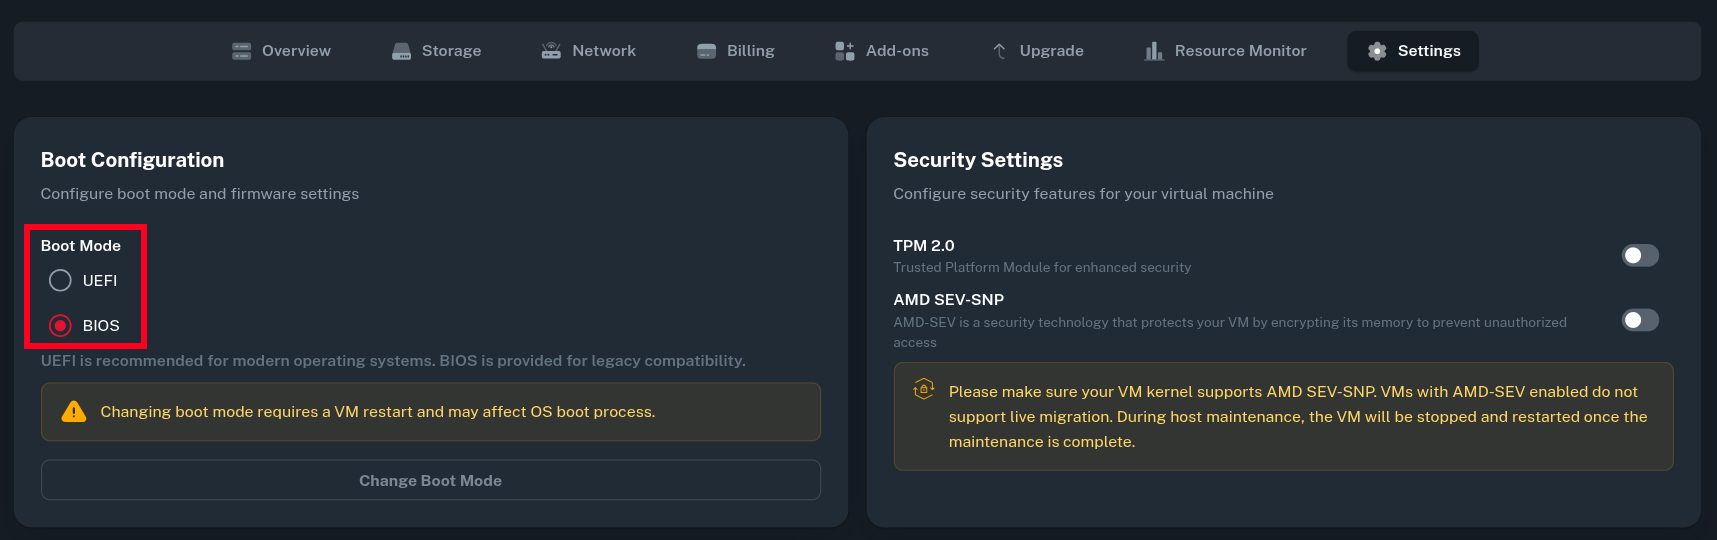
If your Virtual Machine did not boot into your Custom ISO despite it being mounted properly, check the Boot Mode selection inside Settings tab of your VM and try changing it to match the boot mode that is supported by your custom ISO.